Raspberry Pi Communication
Module Goal: wirelessly connect your Kano and Raspberry Pi.
Your Pi is a computer on its own. But, it’s not connected to a monitor, keyboard, or mouse. :( So, if you want to see what it’s displaying and type words on it…what ya gonna do?
Follow these instructions to get your Kano connected to your Pi. This will allow you to wirelessly view and type on the Pi from your Kano.
Put these on your project mat:
- USB Battery Pack
- Raspberry Pi
- USB-C wire
Get Connected!
Using the Kano:
- Turn on your Kano and log in
- Make sure you have an internet connection
- Get Mr. Bowman if you don’t!
-
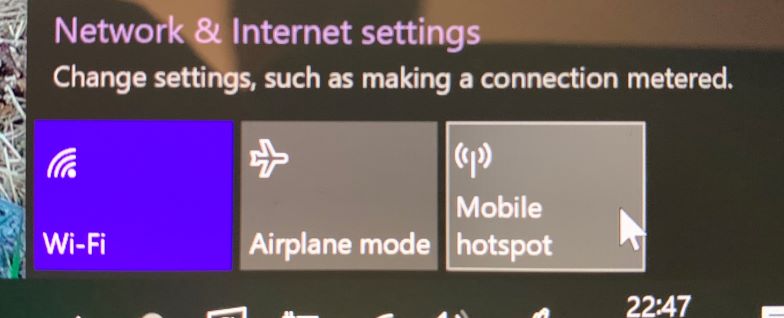
Turn on the Mobile Hotspot connection – see pic below
Using the Pi:
- Connect the USB-C to your Pi and then to your USB battery pack
- This should make your Pi come alive! Look for red & green LEDs that will turn on if it’s working.
Using the Kano:
- On the Kano, you should see the Pi connect in the Mobile Hotspot page
- Figure out the IP address of the Pi – Mr. Bowman can show you how
- Write this number down; it won’t change very often.
- Then:
- Open a terminal window (Windows+R, then type
cmd, thenenter) - Type:
ssh pi@<put_ip_address_here> - Enter the same password you used to log-on to the Kano
- Open a terminal window (Windows+R, then type
You’re in! This terminal is logged-in to the Pi and you are typing words on the Pi, not the Kano.
Get a Desktop View
Why settle for a terminal view? This can be better!
To get an awesome desktop view, do this:
- In the terminal, type:
./run_vncserver.sh - In the terminal, type:
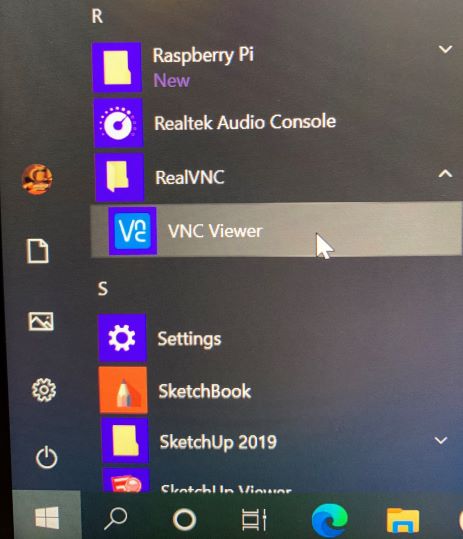
exit - On the Kano, open RealVNC Viewer
- Hint: it’s in your app menu under
Rlike this picture shows
- Hint: it’s in your app menu under
- In the connection window: enter the
<pi_ip_address>:1

- Click
Continueto the security warning - Enter the Pi’s username and password. See pic below:
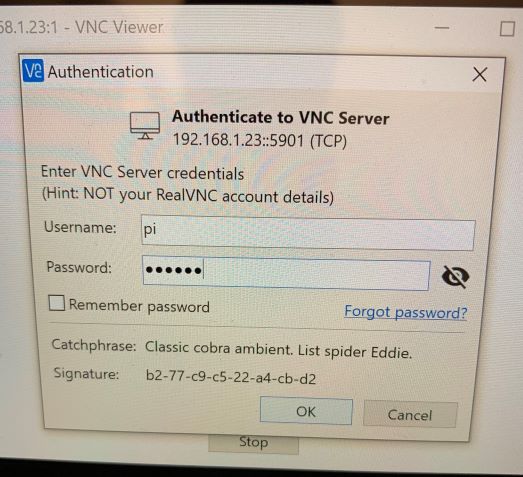
- Click
Ok
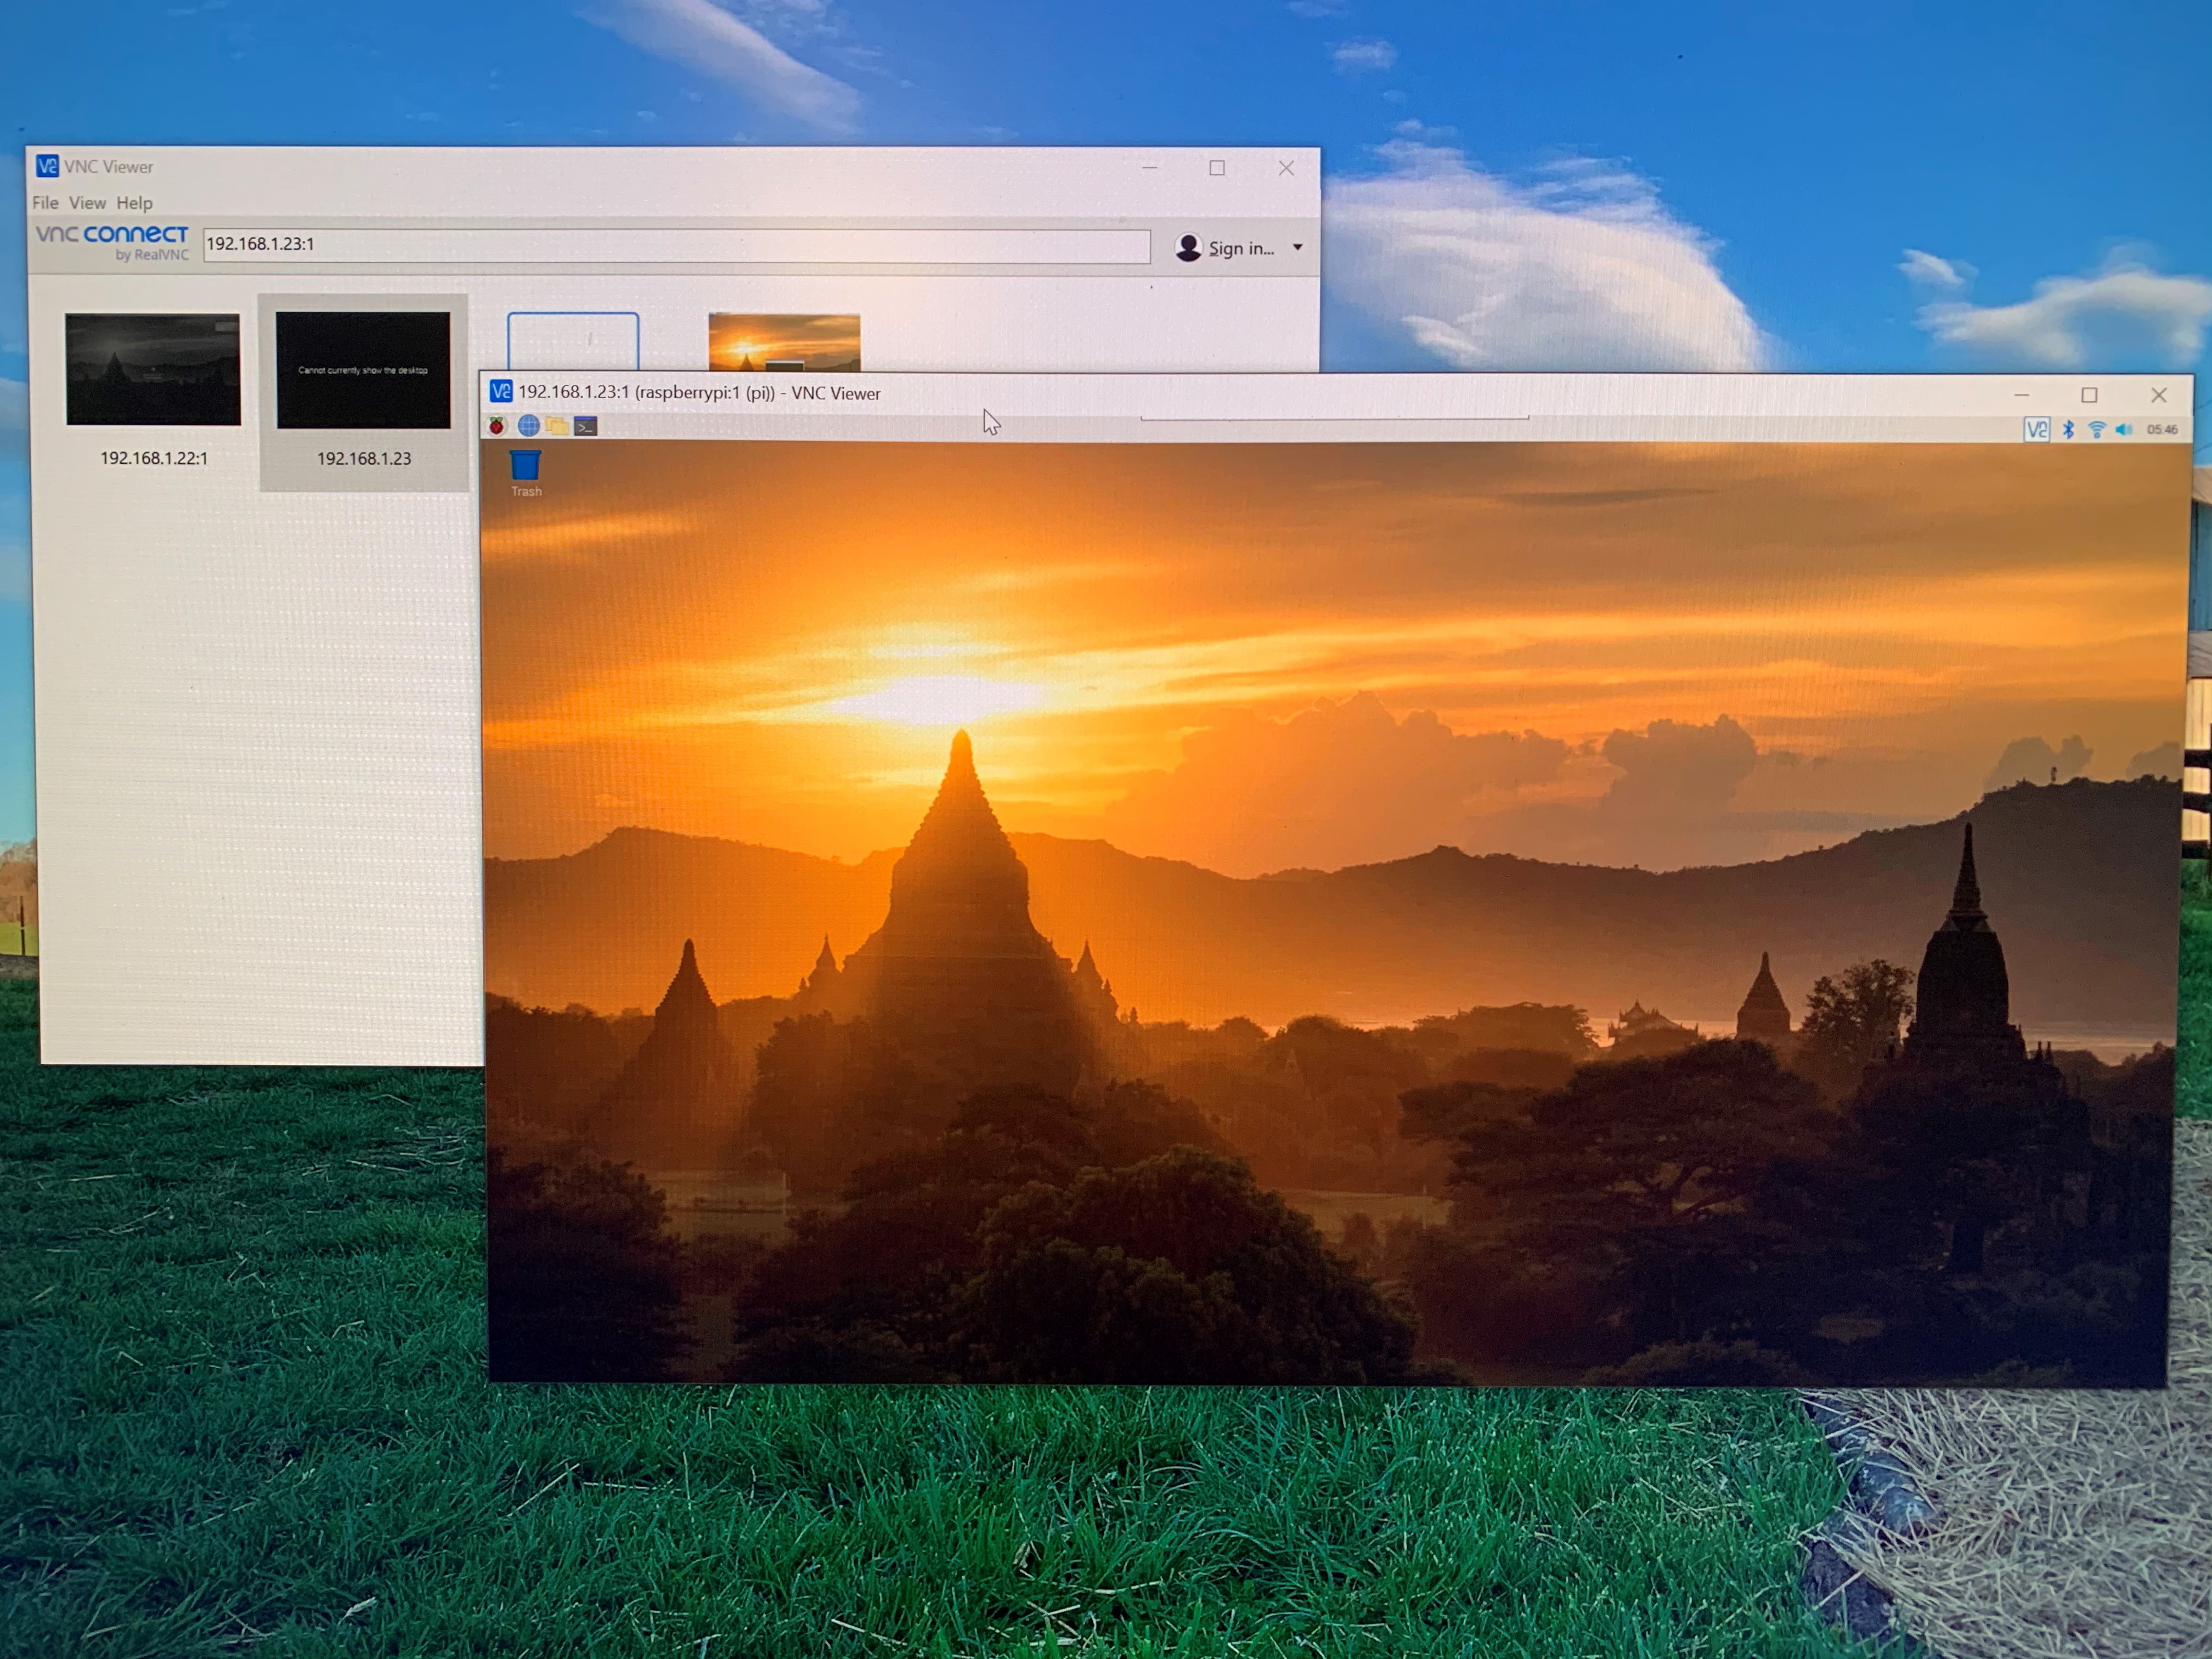
Now you’ve got a full desktop running on your Pi! It should look like the pic below. Feel free to click around on the Pi and check it out. Don’t turn off WiFi – you’ll lose your connection to the Kano!
Writing Code on the Pi
When it comes time to writing computer code on your Pi, you’ll need a code editor. And you have one. It’s called code-oss. Go find it in the menu on the upper left of the Pi’s screen. Programming -> code-oss
NOTE: Your connection to the Pi will last for as long as the Pi is on. If you turn the Pi off or let it run out of battery power or disconnect the WiFi, the connection will drop. :(
Module Complete