Sense an Obstacle
Module Goal: connect your obstacle sensor and write Python code to use it!
Acknowledgement: images and python code snippets in this module are copied directly from the this excellent PiHut tutorial.
What You Need
- 4 male-male wires (select four unique colors, if possible)
- the obstacle sensor
- the obstacle sensor bracket
- two resistors (ask Mr. Bowman)
- the breadboard (if you don’t know what this is, ask Mr. Bowman)
Assembly
First, decide where you will mount the bracket and breadboard. They need to be hear each other!
Examine the obstacle sensor’s four connections. It looks like this:
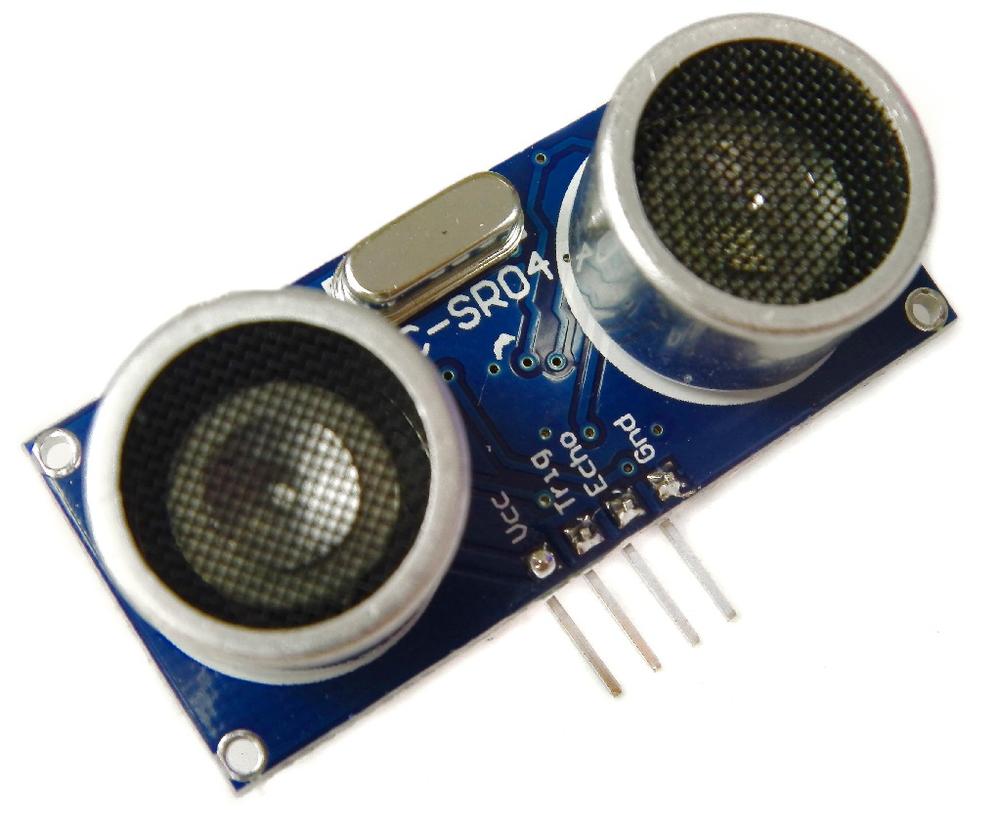
Connect these wires:
- Connect the TRIG wire to pin X on the Raspberry Pi
- Connect the VCC wire to pin X on the Raspberry Pi
Now for the breadboard connections. First, add your resistors like this:

Next:
- Connect the GND wire to …
- Connect the ECHO wire to …
Python Code
Stuart: This is unverified code!
import RPi.GPIO as GPIO
import time

GPIO.setmode(GPIO.BCM)
TRIG = 23
ECHO = 24

print("Distance Measurement In Progress")

GPIO.setup(TRIG,GPIO.OUT)
GPIO.setup(ECHO,GPIO.IN)
GPIO.output(TRIG, False)

print("Waiting For Sensor To Settle")

time.sleep(2)

GPIO.output(TRIG, True)

time.sleep(0.00001)

GPIO.output(TRIG, False)

while GPIO.input(ECHO)==0:

  pulse_start = time.time()

while GPIO.input(ECHO)==1:

  pulse_end = time.time()

pulse_duration = pulse_end - pulse_start
distance = pulse_duration x 17150
distance = round(distance, 2)

print("Distance:",distance,"cm")

GPIO.cleanup()
Try It Out
Place your robot in front of a solid object (like a wall). Run the script and observe the output. Hopefully, you’ve got sensor readings telling you how far away (approximately) the object is.
Show Mr. Bowman! :)
Module Complete