cca_robotics_2021
Course materials for CCA high-school robotics class, academic year 2021-22.
Project maintained by buffetboy2001 Hosted on GitHub Pages — Theme by mattgraham
Playing with Line Sensors
Module Goal: connect the line sensors to your Pi and tune each to recognize a black line on a white background.
Acknowledgement: significant portions of this module are copied directly from the official Raspberry Pi tutorial. But we skip the pesky soldering step :joy:
What You Need
- 6 female-male wires (select two colors, if possible)
- Both line sensors
Prepare the Connectors
Turn the Raspberry Pi off.
-
Ask Mr. Bowman to strip some wires for you.
-
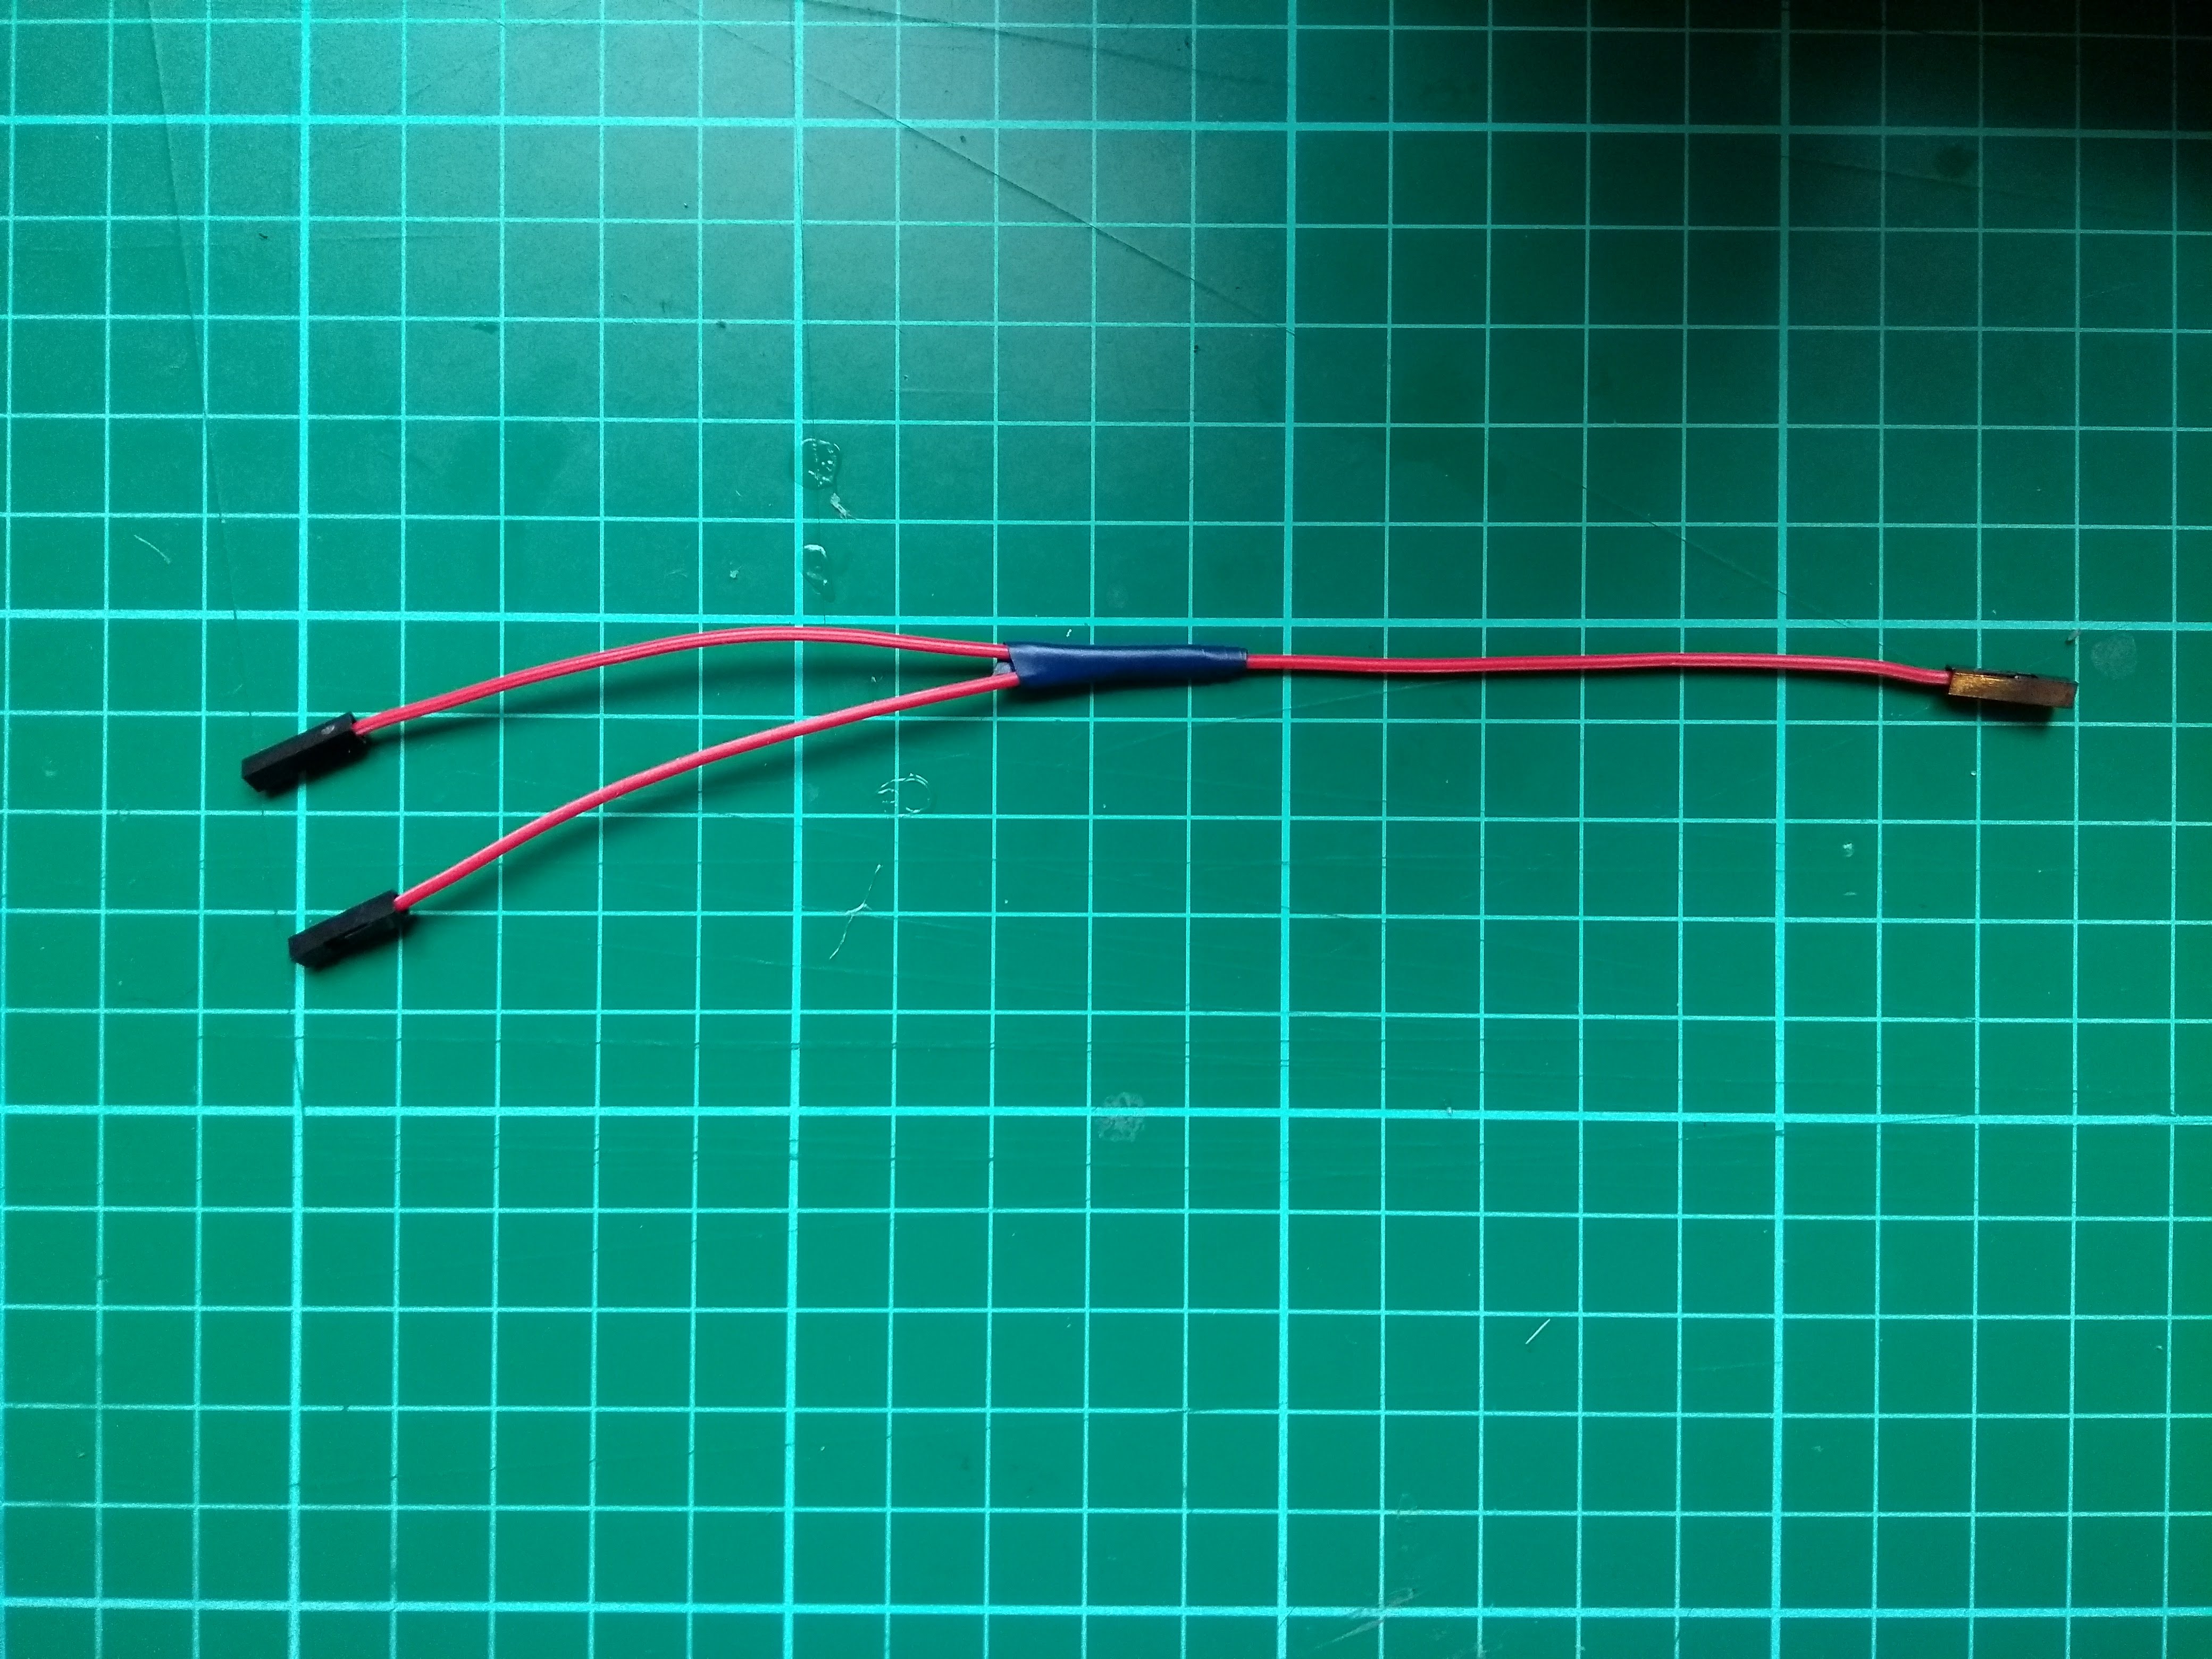
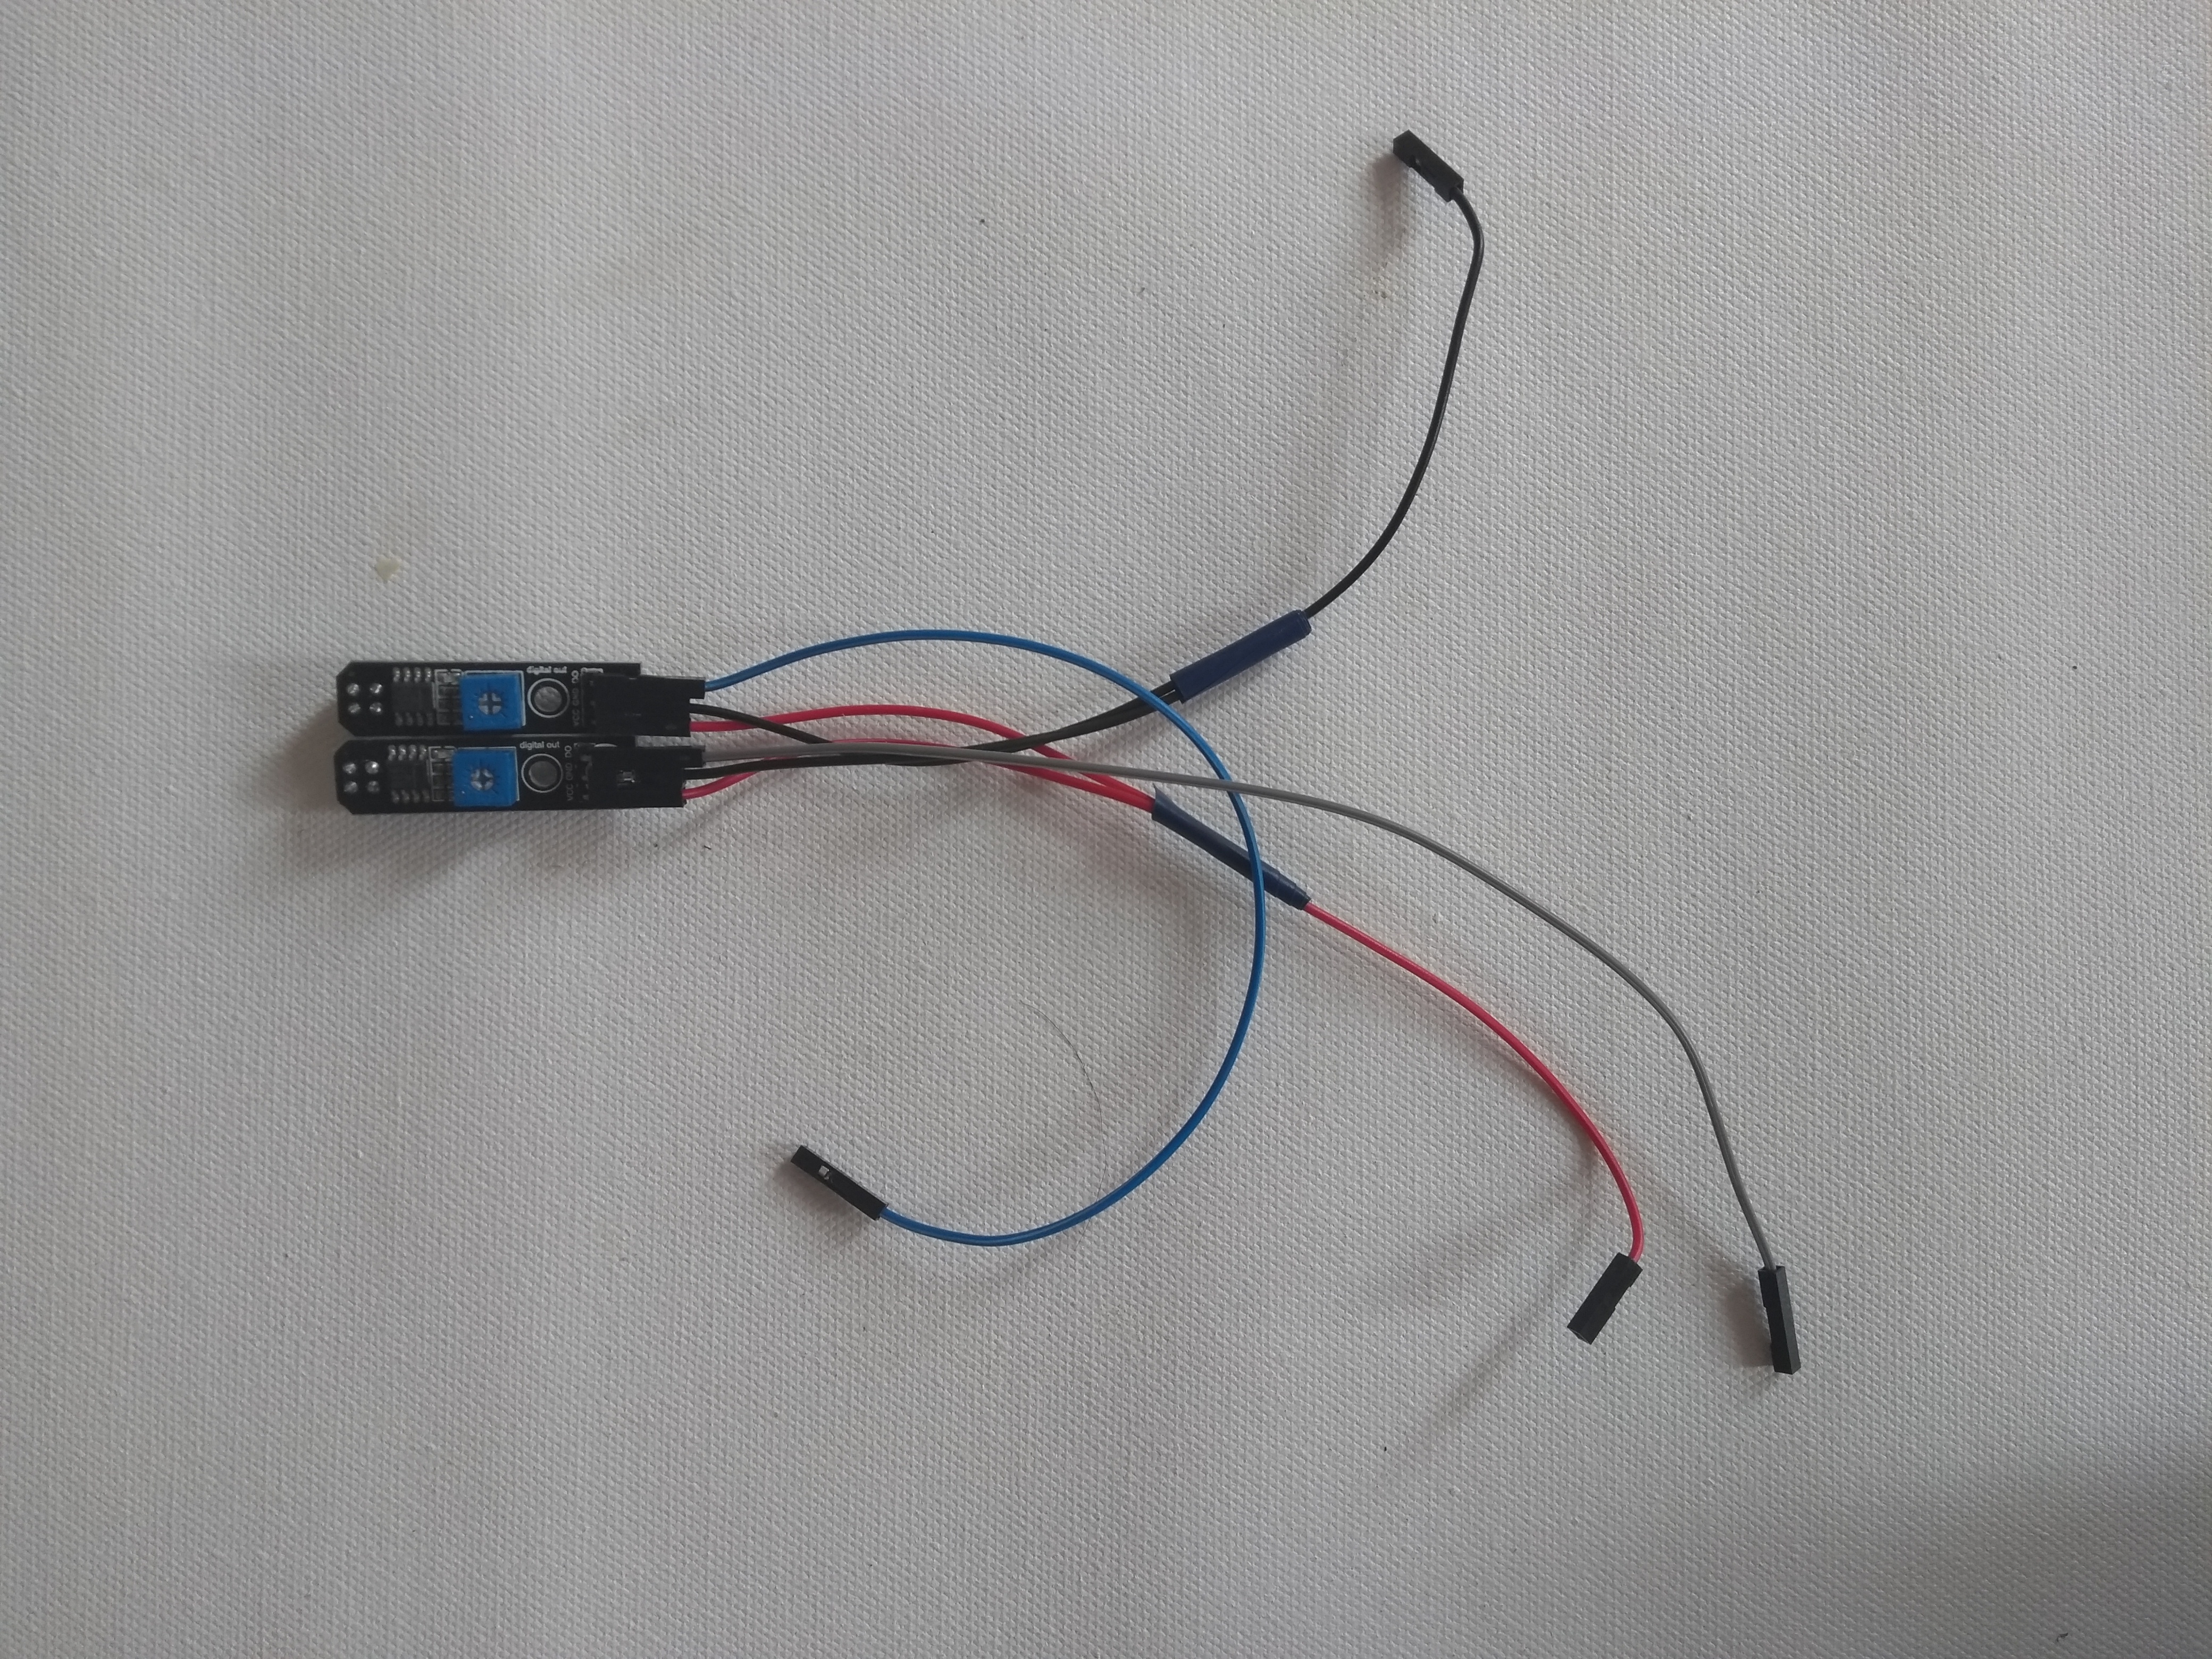
Lay the wires on your project mat in the shape of a ‘Y’ with the wire ends at the junction.
-
Twist the wires together to connect the ‘Y’. Add electrical tape to secure them together.
Like this:
Do this again with three more wires. You should have 2 ‘Y’ configurations now of two different colors.
Connect the Line Sensors
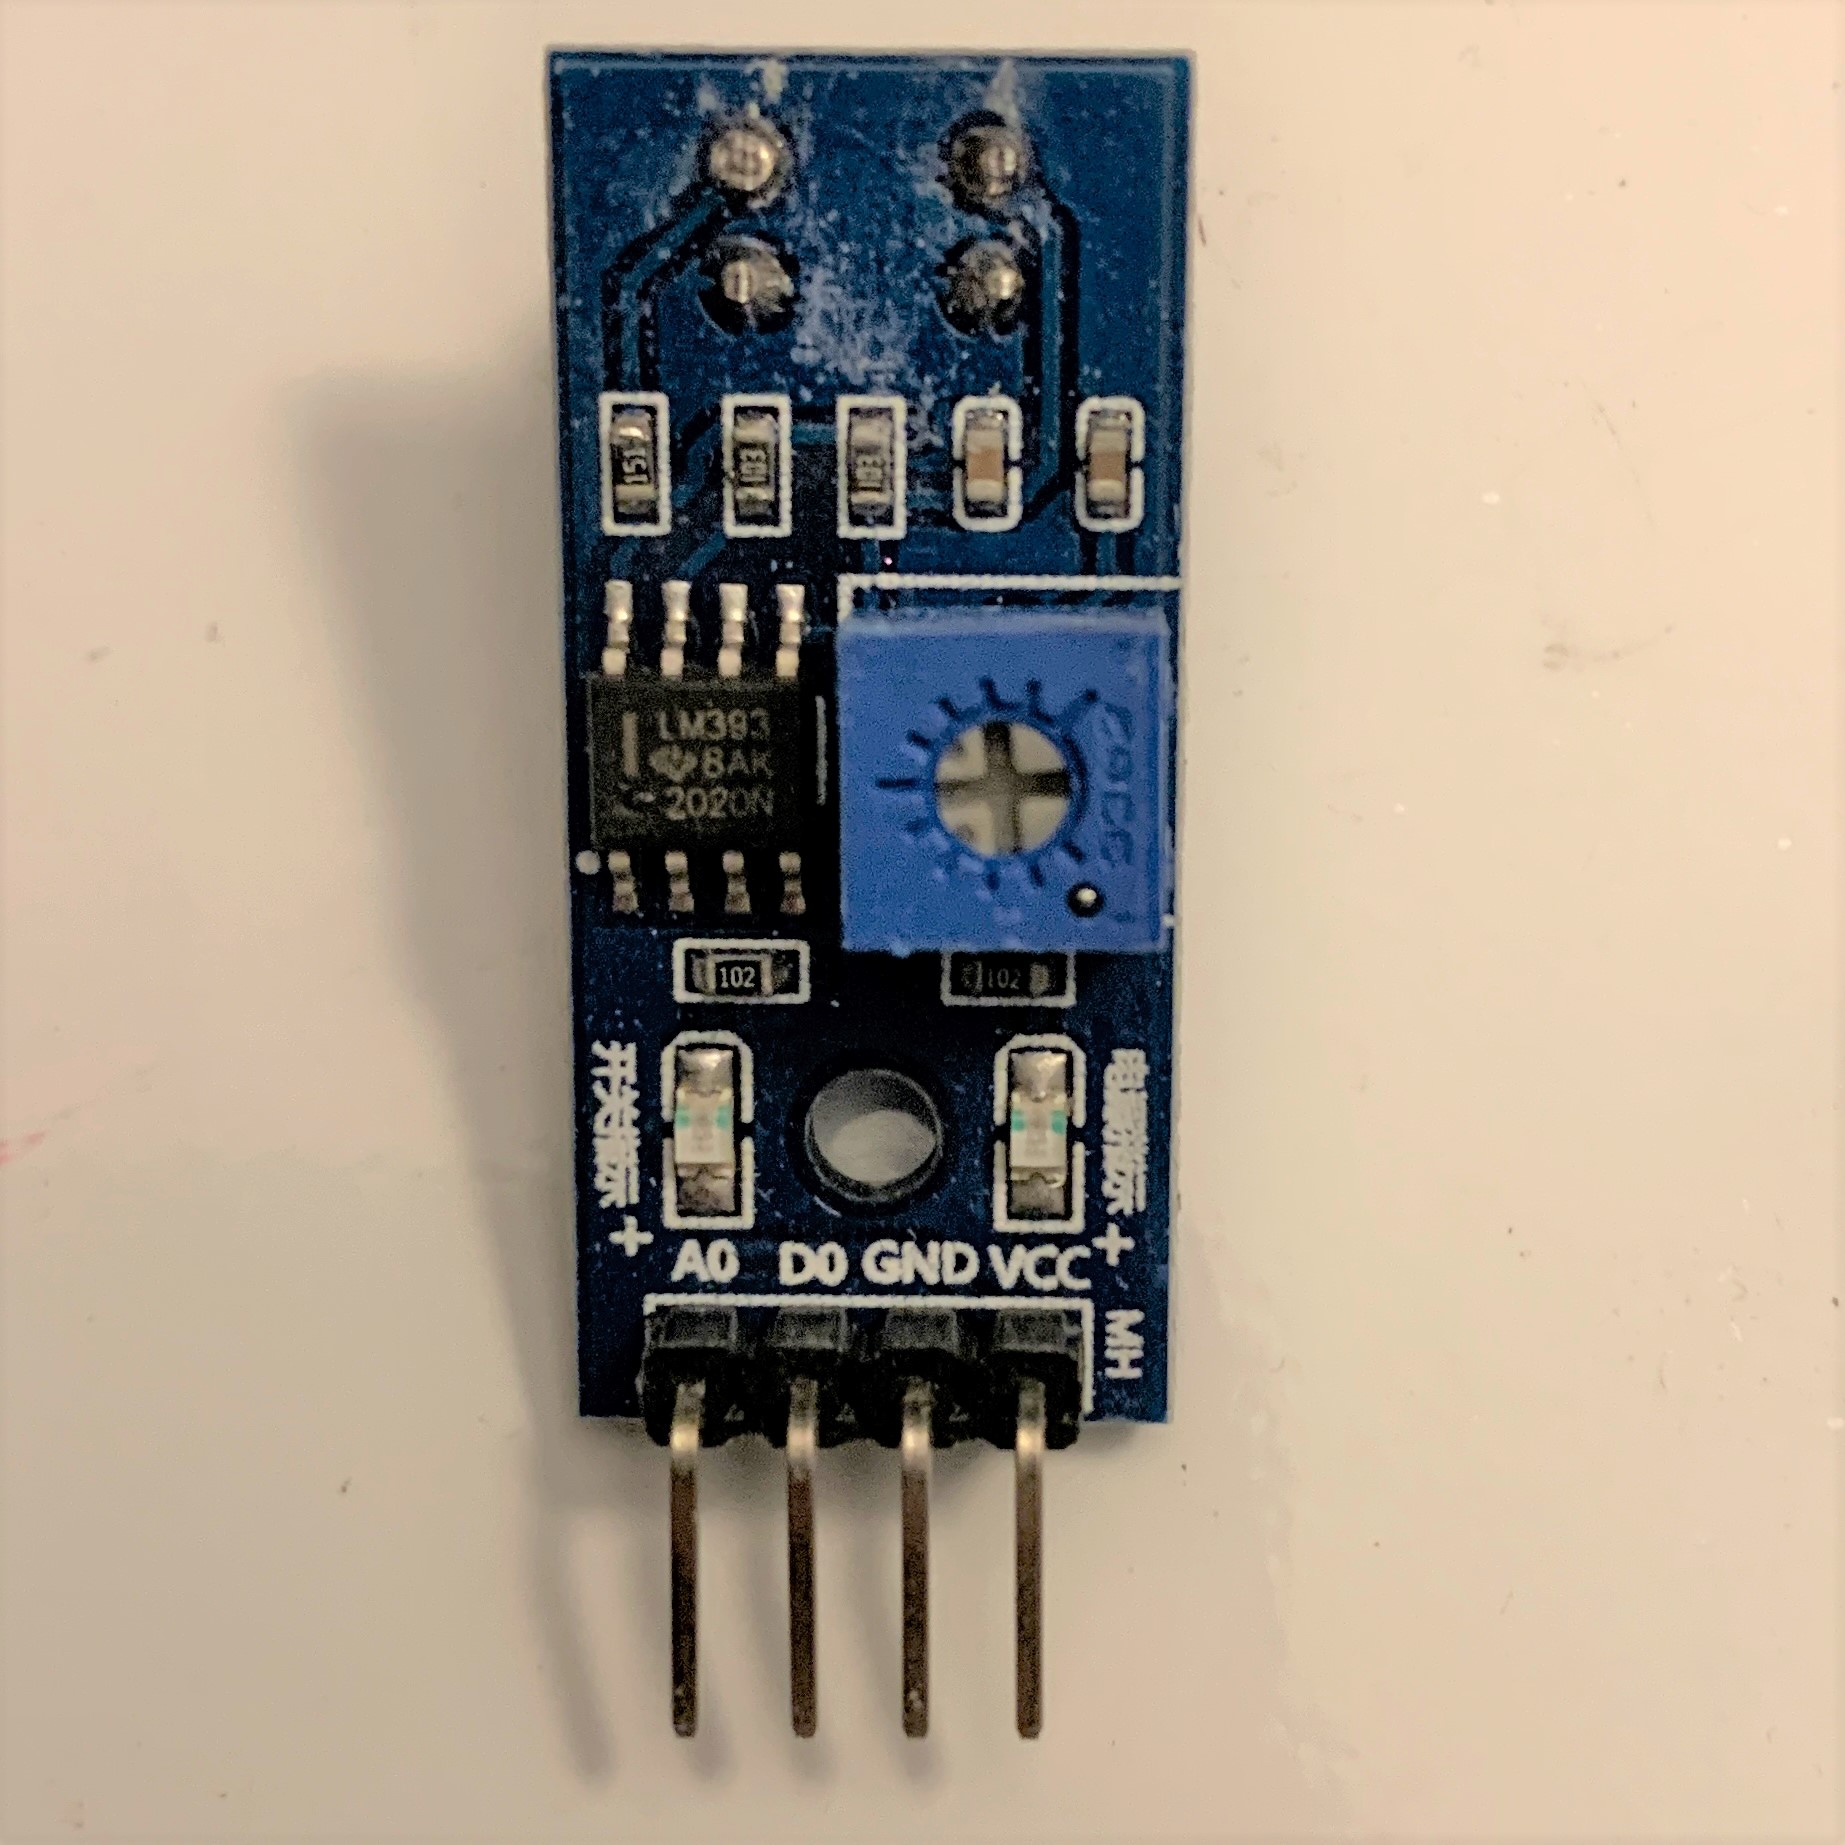
- Examine a line sensor and identify VCC (voltage), GND (ground), DO (digital out)
- Take one of your three-wire ‘Y’ jumper leads, and connect two of its ends to the VCC pin on each of the two sensors.
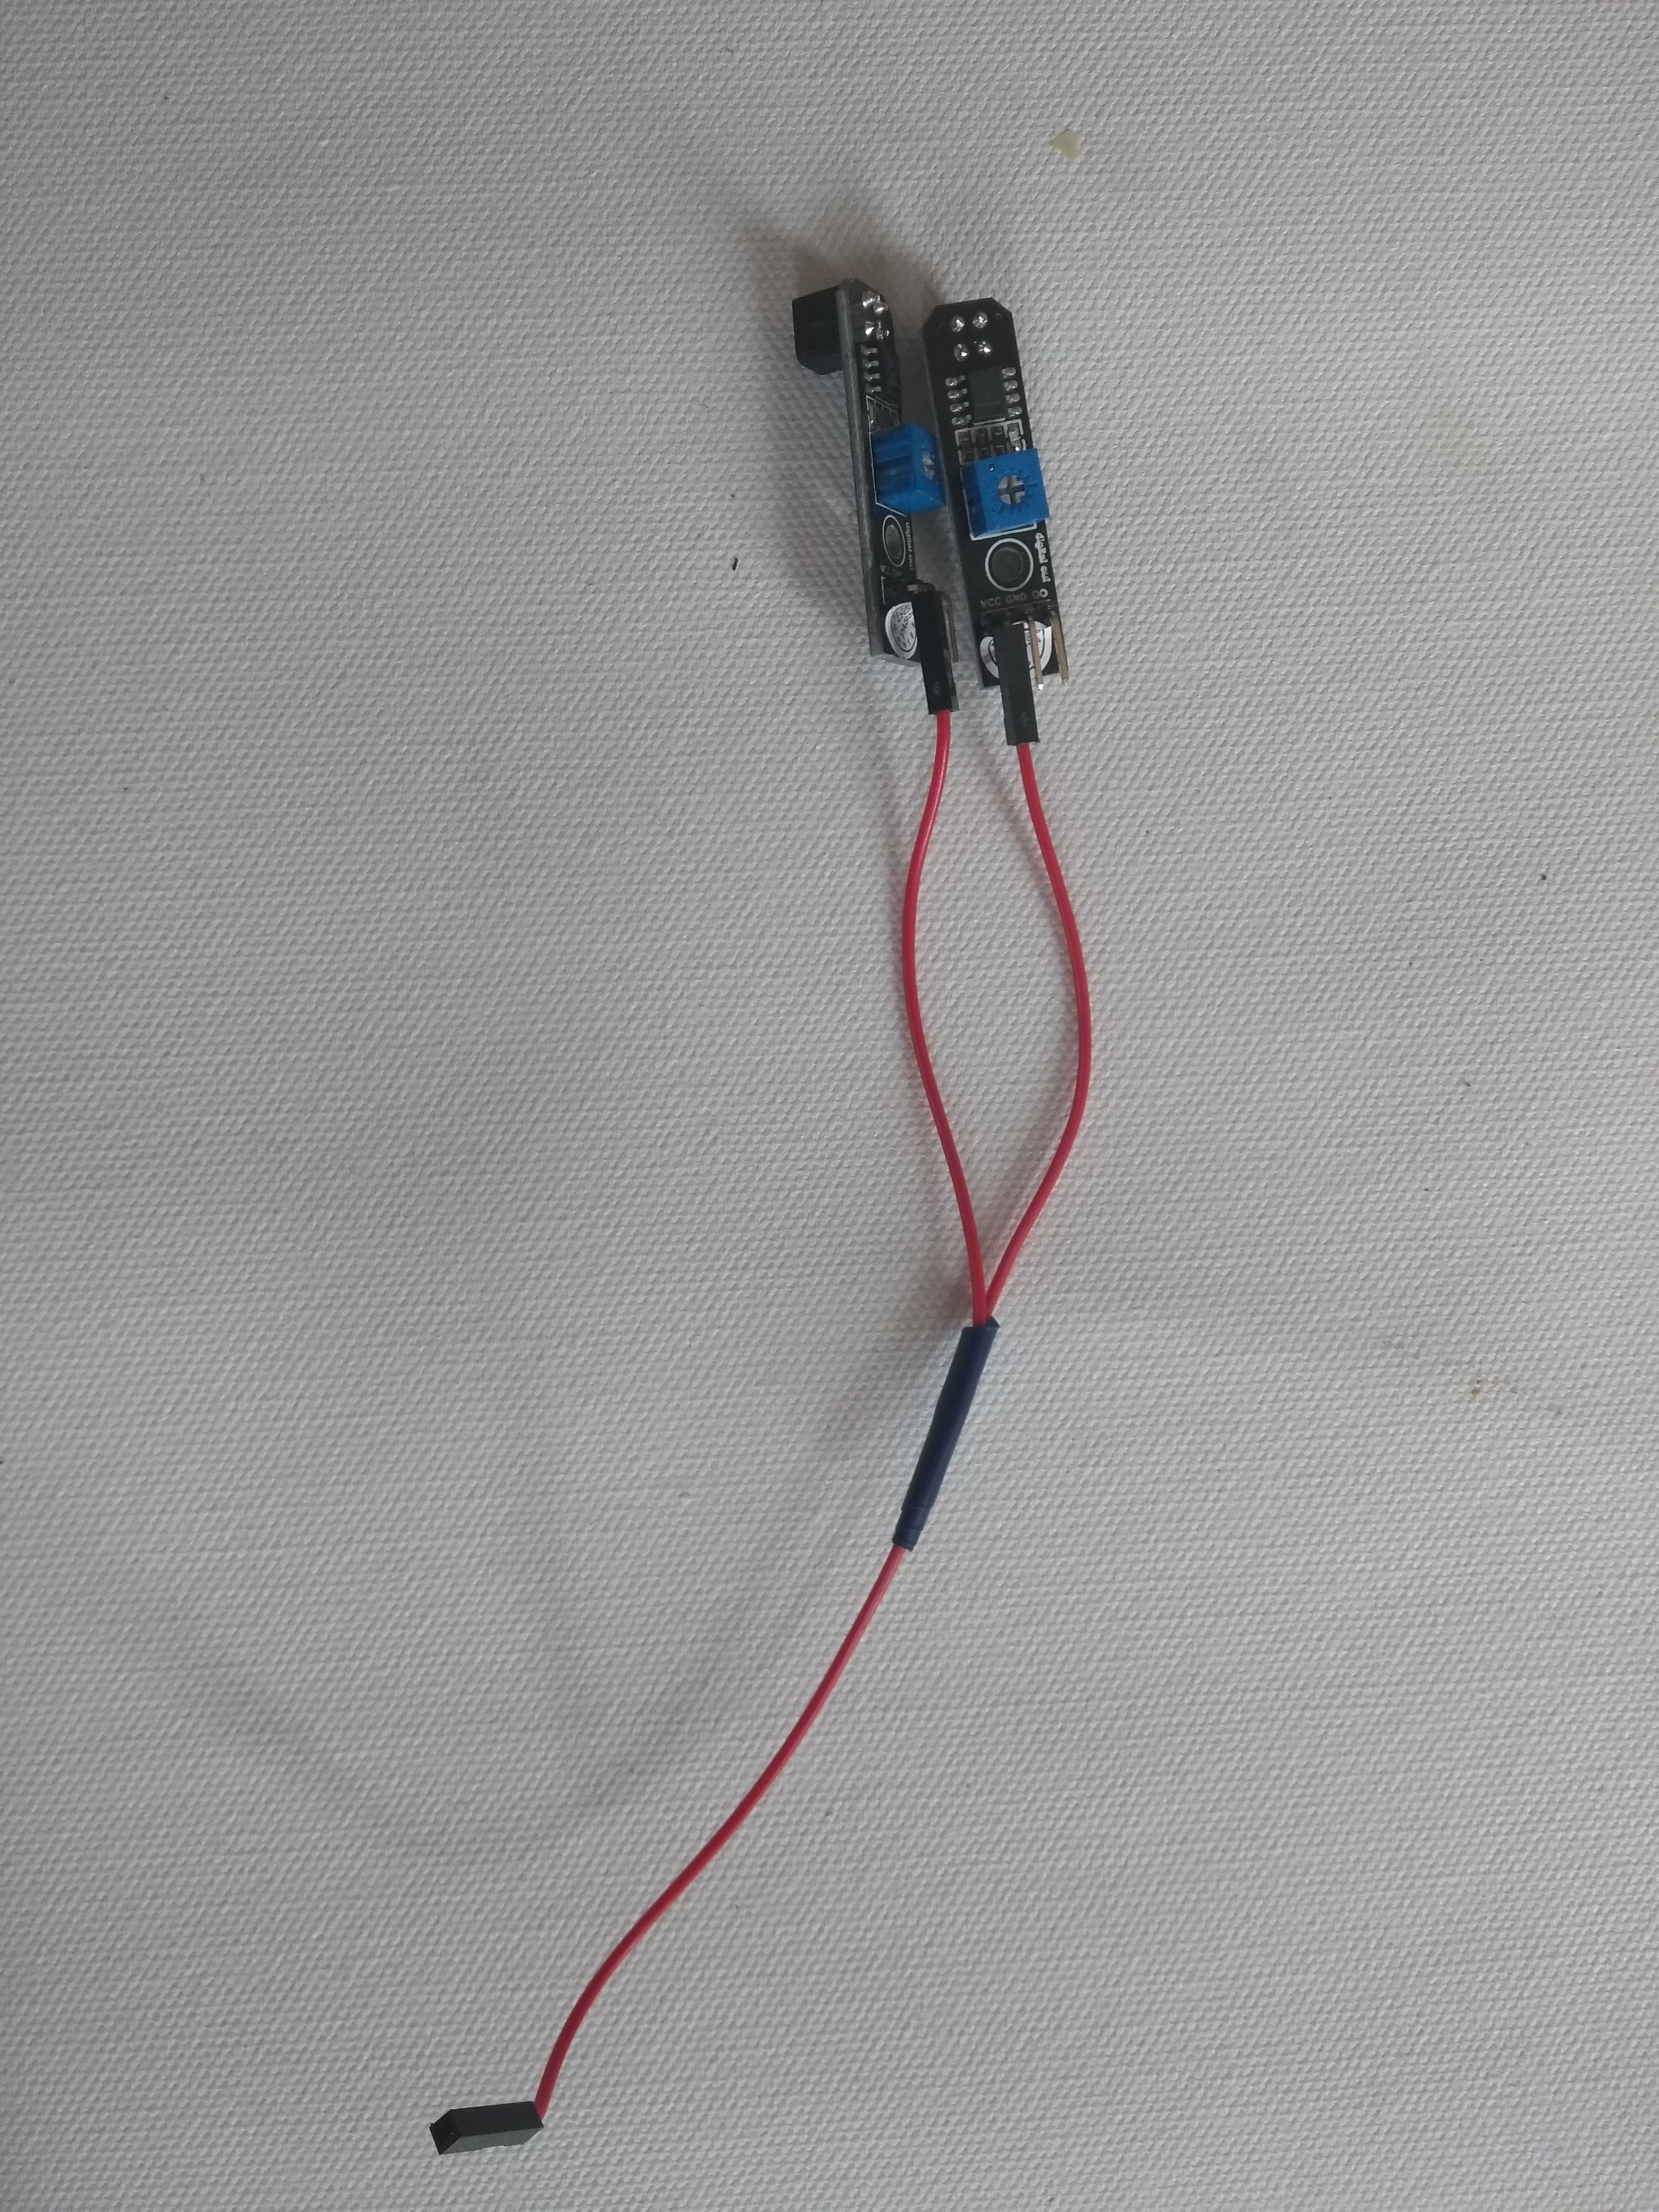
- Do it again with other ‘Y’. Take the second of your ‘Y’ jumper leads and connect two ends to the GND pin on each line sensor.
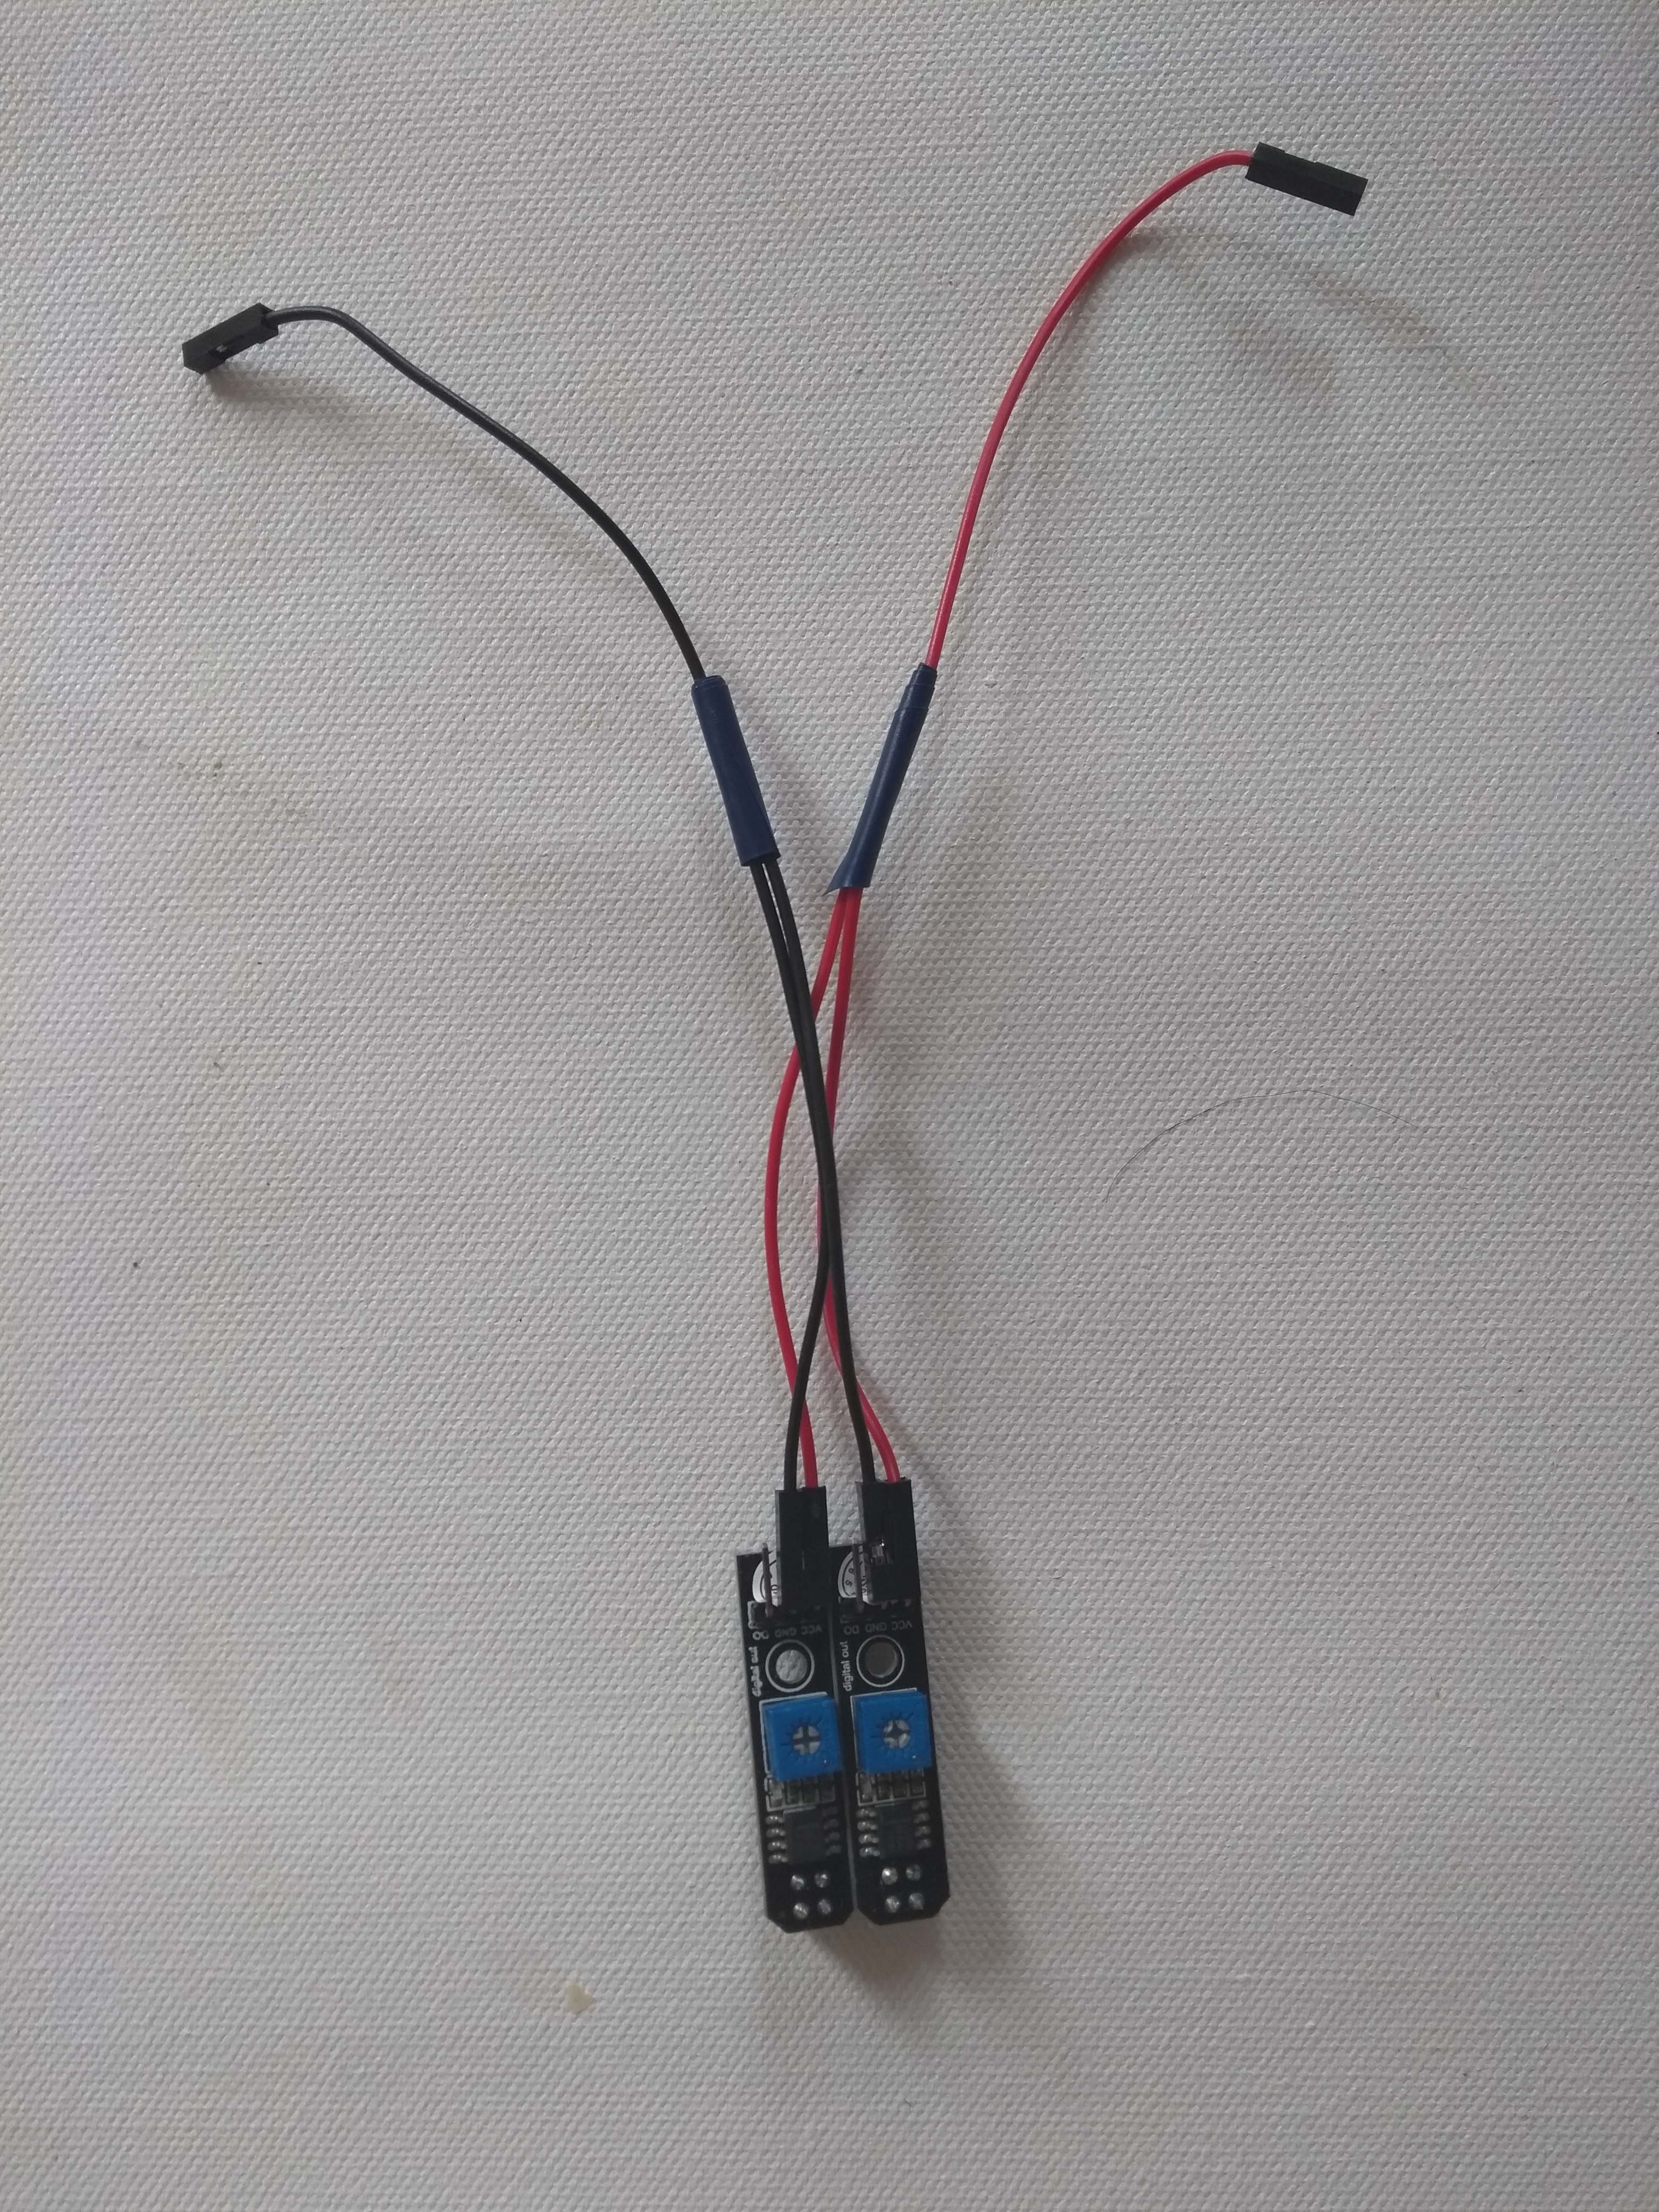
- Take two more male-male wires and connect each one to the DO pin on each line sensors.
- Now connect the wires to the Raspberry Pi:
- the VCC wire of both line sensors to a 5V pin on your Raspberry Pi;
- the GND wire of the sensors to a GND pin on your Raspberry Pi;
- the LEFT line sensor’s DO pins must be connected to pin GPIO 17;
- the RIGHT line sensor’s DO must be connected to GPIO 27.
Tune the Line Sensors
Turn your Raspberry Pi on.
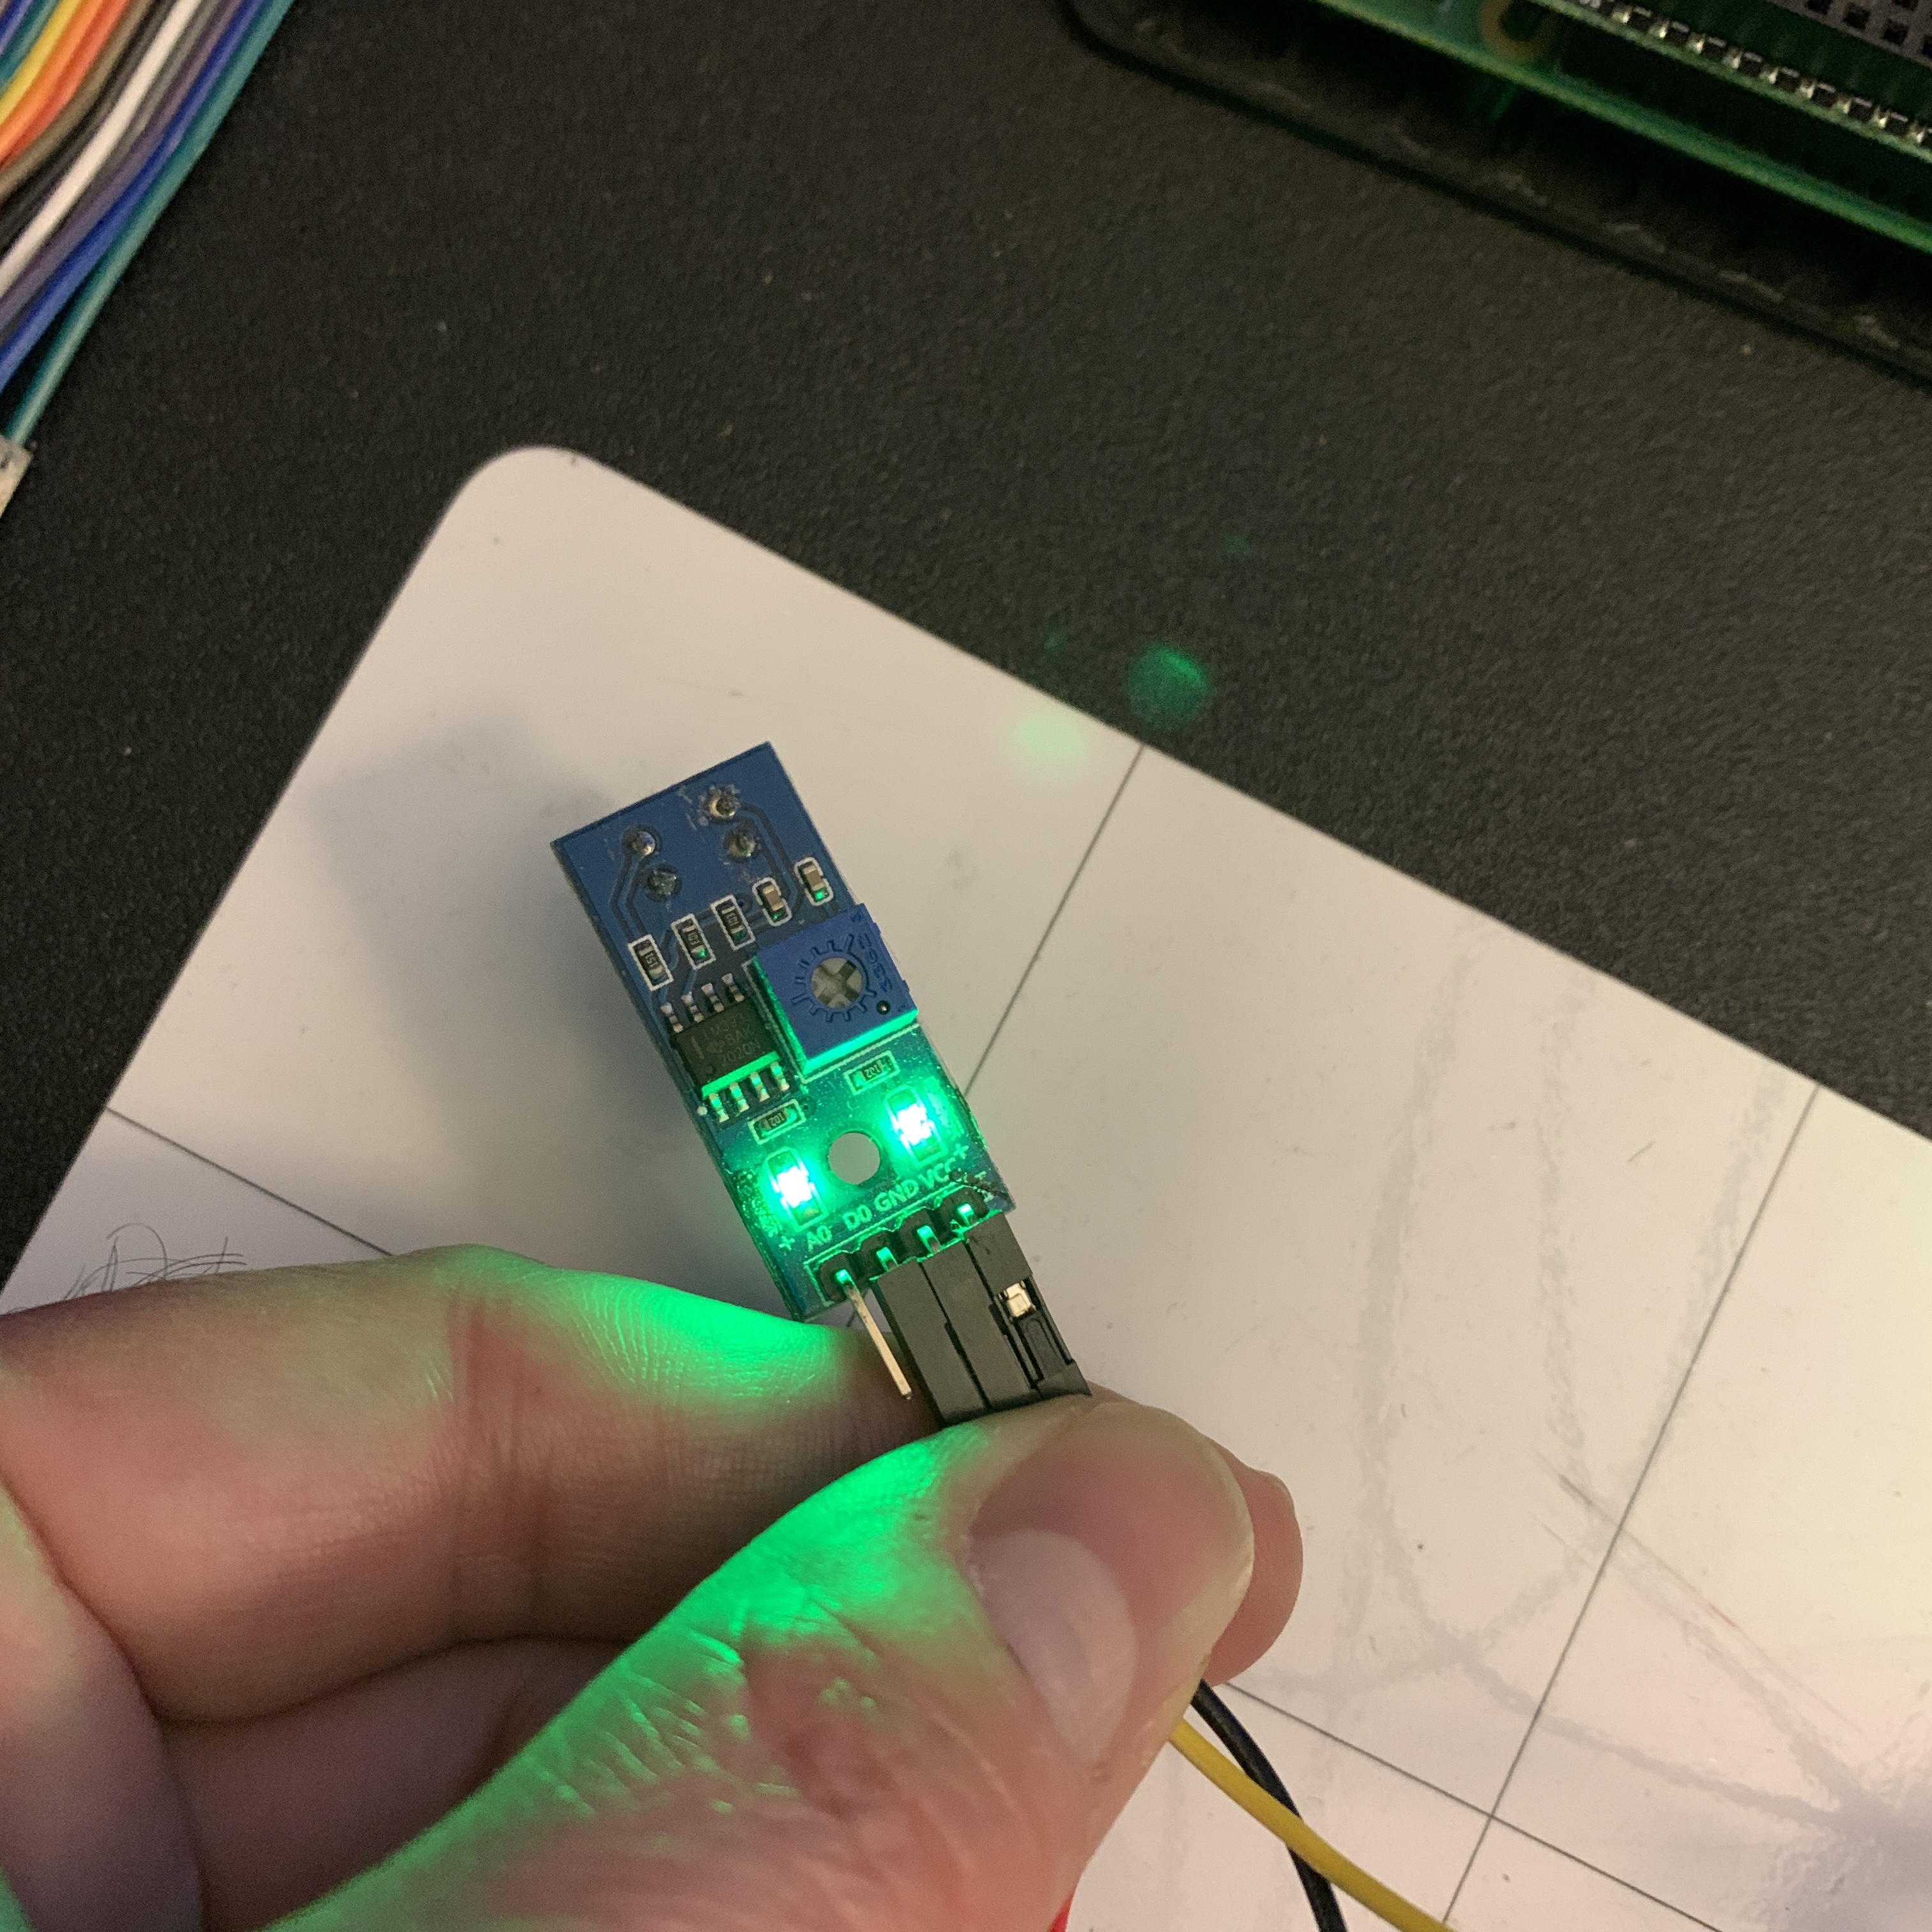
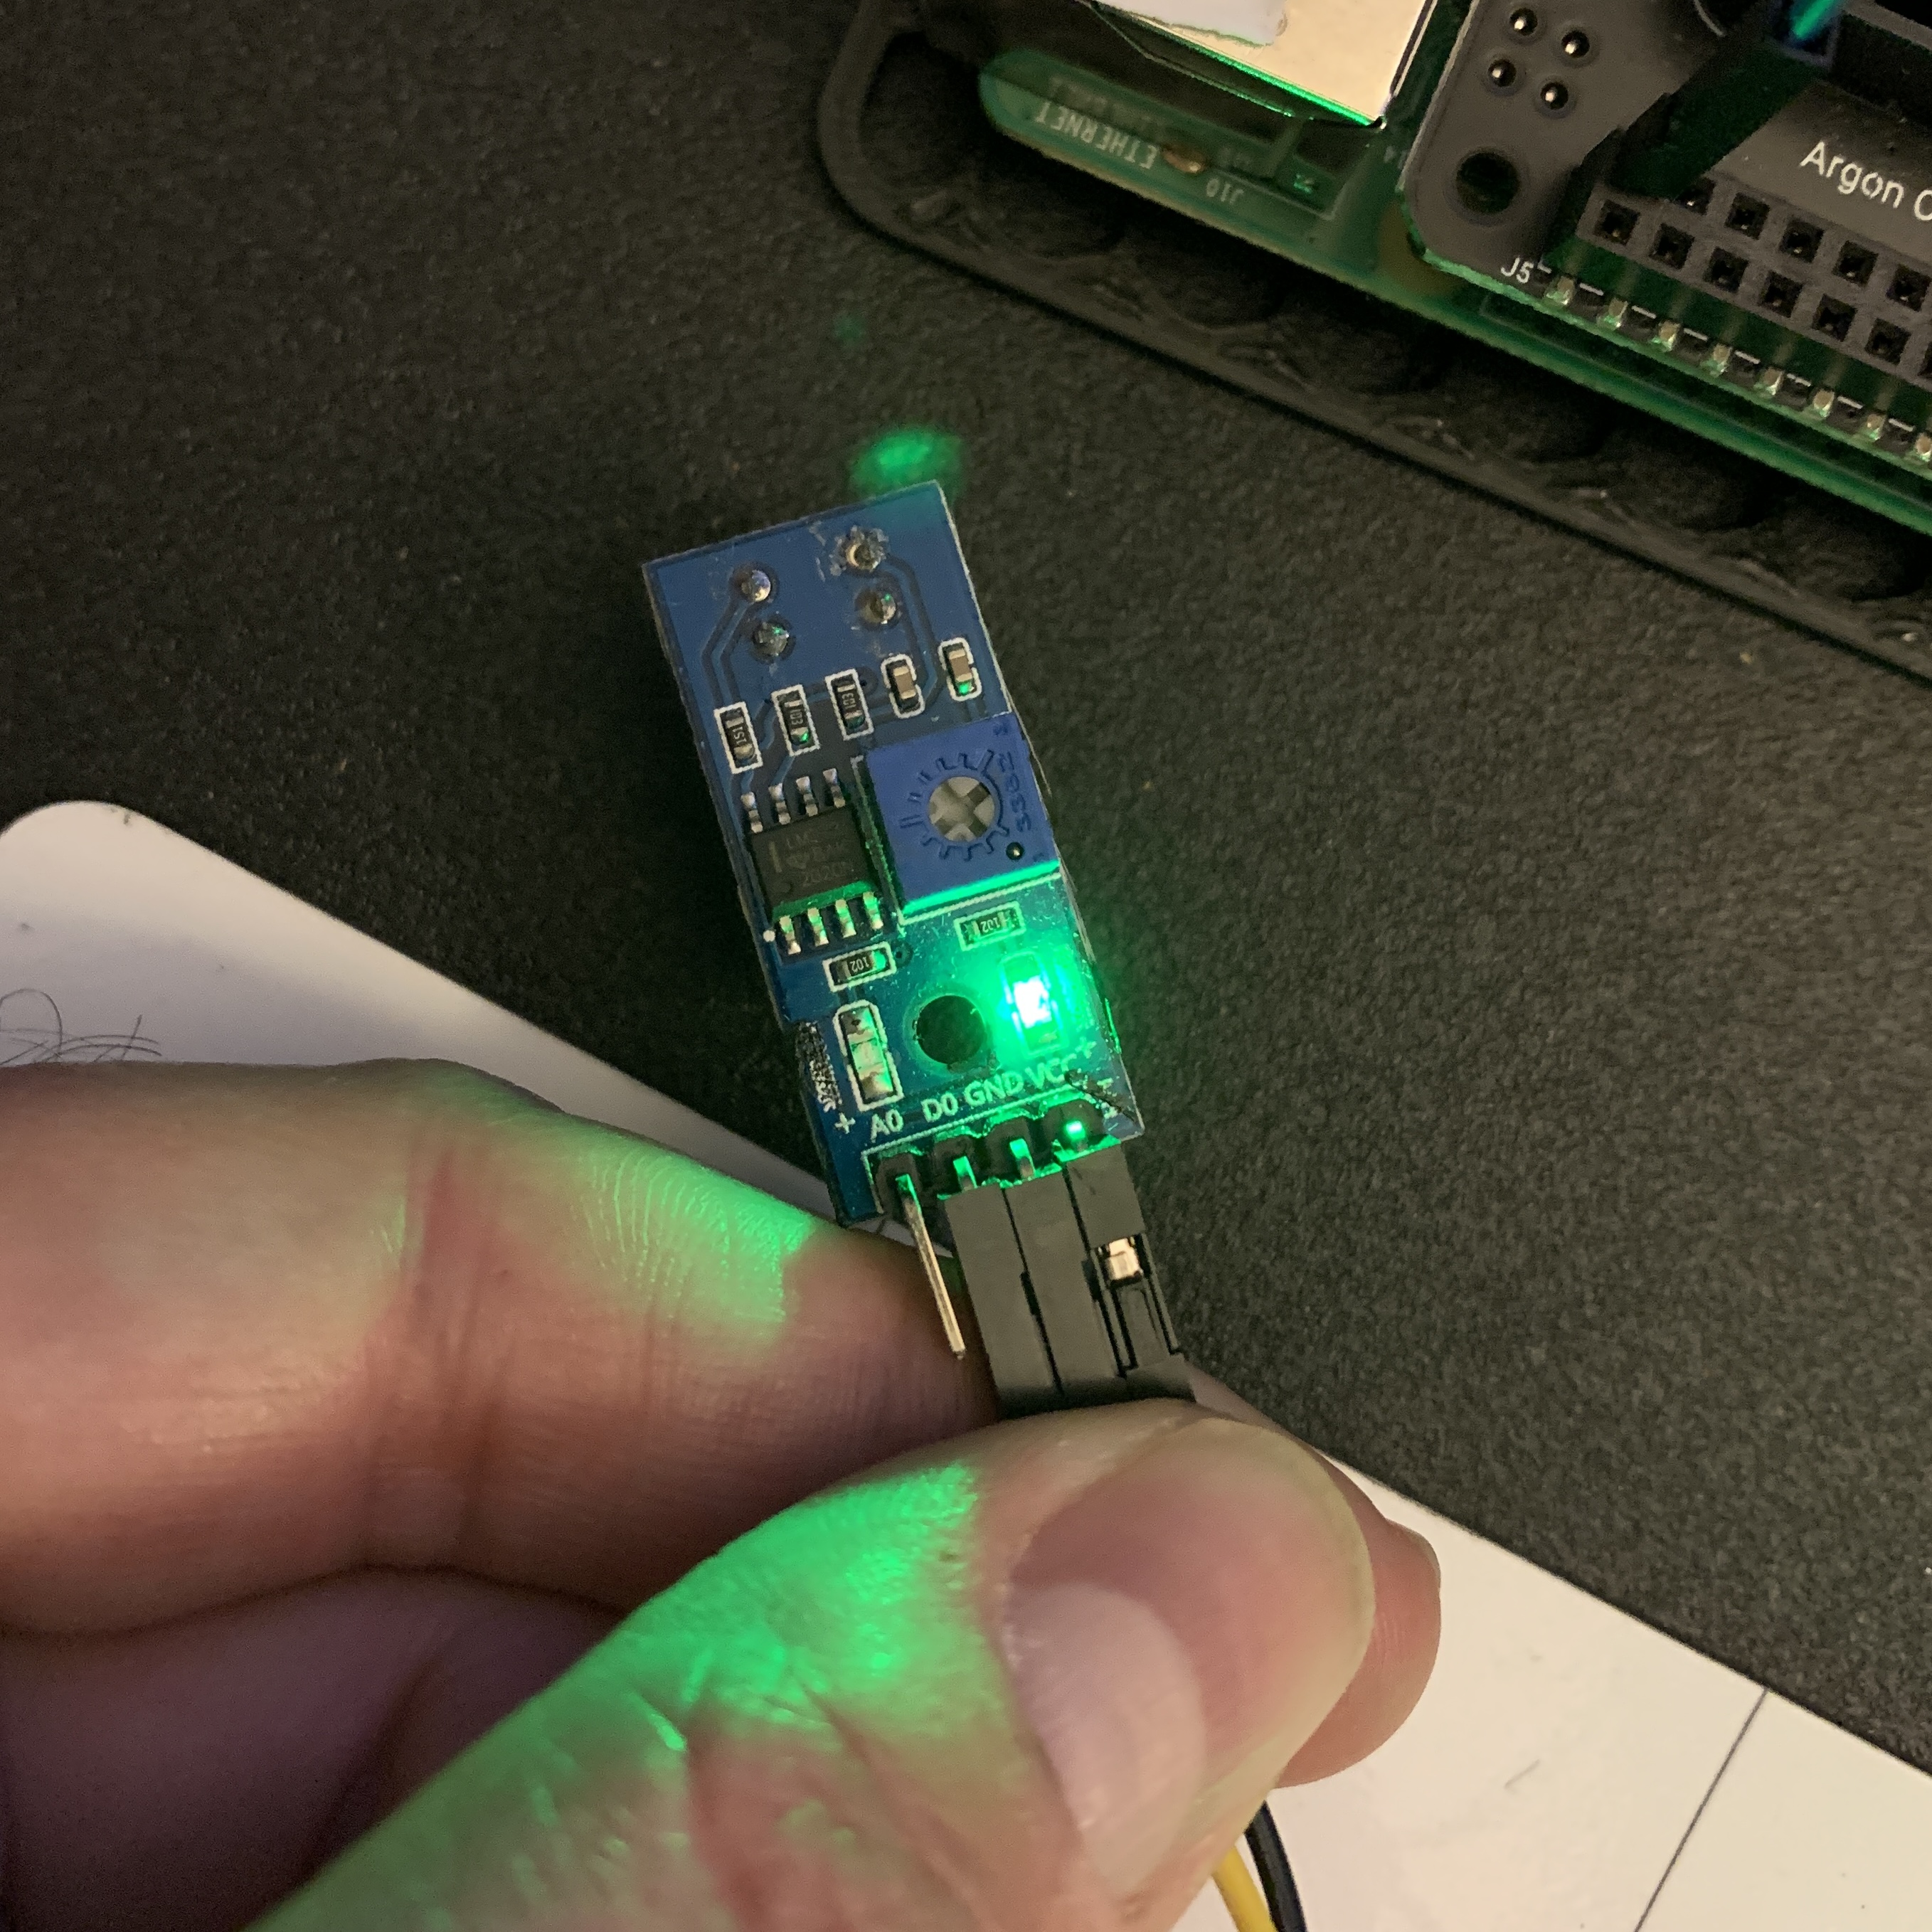
The sensors have blue-green lights that turns on when the Raspberry Pi is powering them. The lights also tell you what the sensor is sensing. The lights should be bright when over a white area. And they should be off when over a dark area.
If needed, use the small potentiometer on the board to tune your sensors, so that the LEDs turn off when over a dark spot and light up bright when over white space.
Line Sensor Over White
Line Sensor Over Black
Line Sensing in Python Code
'''
Working with line sensors
'''
from gpiozero import LineSensor
from time import sleep

def left_sensor_detected_white():
    print("left sensor on white...")
    return

def right_sensor_detected_white():
    print("right sensor on white...")
    return

def left_sensor_detected_black():
    print("left sensor on black...")
    return

def right_sensor_detected_black():
    print("right sensor on black...")
    return

if __name__ == "__main__":
    '''
    Code starts here
    '''

    # Setup the line sensors
    left_sensor = LineSensor(17)
    right_sensor = LineSensor(27)

    # left sensor functions
    left_sensor.when_no_line = left_sensor_detected_black
    left_sensor.when_line = left_sensor_detected_white

    # right sensor functions
    right_sensor.when_no_line = right_sensor_detected_black
    right_sensor.when_line = right_sensor_detected_white

    sleep(20)

    print("all done")
Once both line sensors and code work correctly, show Mr. Bowman!
Module Complete